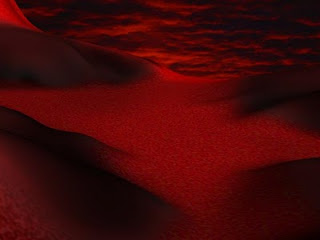
First of all I accessed photoshop and studio max in tangecent. For our Photoshop document I requried the canvas height and width to 512 and 512 and for the screen resolution I set to 72 DPI. What I did first was set the background black and then I created a white sections which lead to the centre and to the edge which the colour tone became brighter. Then I used the smudge tool to manuipulate the different shades and made them interact and correspond with each other.
Then I added layer and made this the ground part of my landscape in this case red grass. I filled in the parts which was darkest and I maintained the shape by filling the black empty areas and this became the valley. I added a filter effect Noise as this helped make the grass look more visually effective. I toned down the noise as it looked to multicolored.
Then I added one more layer as this would be the color of the stone which would be of the mountain. I used a darken color effect to make the stone look tainted by the color of the grass. For the final layer this would be the peak of the mountain I wanted to make this look like a blood snow effect so I had the color of the snow a bright red with a mix of white and I added another Noise effect to help make it more visually real.
I opened up Studio Max, I used the Plane standard primitive and gave it 100 lentgh and 100 width segments. I added a displace modifier and I gave it my displace texture. Then I added the dsplacement strength which totalled up to 61. I also added a blur effect to make the surface more smooth. Then I added a background which was of a dawn sky which looks like its on fire.


No comments:
Post a Comment